What To Know
- , a bold sans-serif for headers + a readable serif for body text).
- In the font dropdown, choose your uploaded font under Custom Fonts.
- Prepare Your Font FilesDownload your font in .
Table of Contents
- Why Custom Fonts Matter for Your Wix Site
- Font Licensing: What You Need to Know
- Step-by-Step Guide to Adding Custom Fonts
- Optimizing Custom Fonts for Speed & SEO
- Troubleshooting Common Issues
- Conclusion & Pro Tips
1. Why Custom Fonts Matter for Your Wix Site
Custom fonts help you:
- Reinforce Brand Identity: Stand out with fonts that match your logo and style.
- Improve Readability: Choose fonts optimized for web and mobile screens.
- Boost SEO: Unique typography reduces bounce rates and increases engagement.
- Avoid Generic Templates: Escape the limitations of Wix’s default font library.
2. Font Licensing: What You Need to Know
- Use Licensed Fonts: Avoid legal issues by sourcing fonts from platforms like Google Fonts, Adobe Fonts, or Font Squirrel.
- Check Web Font Licenses: Ensure the font license allows embedding on websites.
- Formats Matter: Upload fonts in
.woffor.woff2formats for better browser compatibility.
3. Step-by-Step Guide to Adding Custom Fonts
Step 1: Prepare Your Font Files
Download your font in .woff or .woff2 format.
Step 2: Upload Fonts to Wix
- Go to Wix Editor > Settings > Custom Fonts > Upload Fonts.
- Click Upload Font, select your file, and name the font family (e.g., “Brand Sans”).
Step 3: Assign Fonts to Elements
- Select any text element (e.g., a headline).
- In the font dropdown, choose your uploaded font under Custom Fonts.
Step 4: Apply Globally (Optional)
Use Wix’s Theme Manager to apply the font to all headings, buttons, or body text.
Step 5: Publish and Test
Preview your site on multiple devices to ensure consistency.
4. Optimizing Custom Fonts for Speed & SEO
- Limit Font Weights: Use 2-3 weights (e.g., Regular, Bold) to reduce HTTP requests.
- Enable Font Subsetting: Remove unused characters to shrink file sizes (use tools like Transfonter).
- Leverage
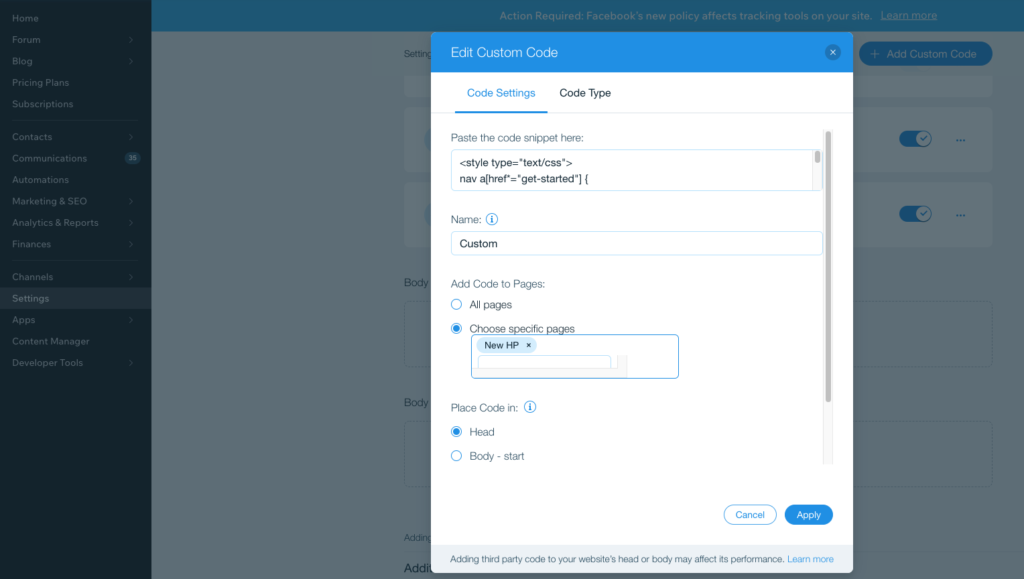
font-display: swap: Prevent invisible text during loading by adding this CSS snippet in Developer Tools > CSS Editor:cssCopy@font-face { font-family: ‘Brand Sans’; src: url(‘your-font-url.woff2’) format(‘woff2’); font-display: swap; } - Compress Images: Pair custom fonts with optimized images to maintain site speed.
5. Troubleshooting Common Issues
- Font Not Displaying: Clear your browser cache or check font file compatibility.
- Slow Loading: Host fonts locally (via Wix) instead of relying on external CDNs.
- Mobile Rendering Issues: Test fonts on iOS and Android using Wix’s mobile editor.
6. Conclusion & Pro Tips
Custom fonts transform your Wix site from generic to professional. Start with one font family, optimize for performance, and align typography with your brand palette.
Pro Tips
- Use tools like Google Fonts for free, SEO-friendly options.
- Pair fonts strategically (e.g., a bold sans-serif for headers + a readable serif for body text).
- Combine with custom CSS (link to your previous blog) for advanced styling.
Related Blogs
Top 10 Wix SEO Hacks
How to Add Custom CSS in Wix