What To Know
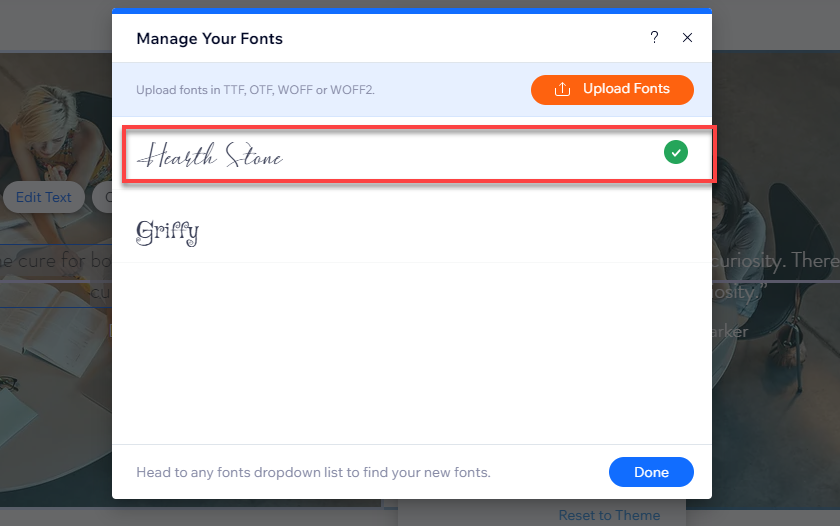
- Elevate Your Branding in 5 Simple StepsHow to Add Custom Fonts to WixElevate Your Branding in 5 Simple Steps.
- Assign a Custom Class NameIn the element’s ID field, replace the default with a unique class name (e.
- A Wix Premium Plan (Custom CSS requires a paid plan).
Table of Contents
- Why Add Custom Classes and CSS to Your Wix Site?
- Prerequisites for Custom Styling in Wix
- Step-by-Step: Adding a Custom Class in Wix
- How to Inject Custom CSS into Your Wix Website
- Best Practices for Clean, Scalable Code
- SEO Tips to Rank Your Customized Wix Site
- Conclusion & Next Steps
1. Why Add Custom Classes and CSS to Your Wix Site?
Wix’s drag-and-drop editor is user-friendly, but it limits design flexibility. By using custom classes and CSS (Cascading Style Sheets), you can:
- Break free from template constraints.
- Achieve pixel-perfect branding (colors, fonts, spacing).
- Enhance mobile responsiveness.
- Improve site speed by reducing redundant code.
- Stand out from competitors using generic Wix templates.
2. Prerequisites for Custom Styling in Wix
- A Wix Premium Plan (Custom CSS requires a paid plan).
- Basic understanding of HTML/CSS (no coding expertise needed).
- Enable Developer Tools: Go to Wix Editor > Settings > Developer Tools > Turn ON.
3. Step-by-Step: Adding a Custom Class in Wix
Step 1: Enable Developer Mode
Click the Wix Editor’s top menu: Settings > Developer Tools > Enable Developer Mode.
Step 2: Select the Element to Customize
Click any element (e.g., a button, text box, or image). In the properties panel, note the default class (e.g., #button1).
Step 3: Assign a Custom Class Name
In the element’s ID field, replace the default with a unique class name (e.g., custom-button). Avoid spaces or special characters.
Step 4: Save and Repeat
Repeat for other elements needing customization. Use consistent naming (e.g., custom-header, custom-footer).
4. How to Inject Custom CSS into Your Wix Website
Step 1: Access the CSS Editor
Go to Developer Tools > CSS Editor.
Step 2: Link Your Custom Class to CSS
Write CSS rules targeting your class. For example:
css
Copy
.custom-button {
  background-color: #FF5733;
  border-radius: 25px;
  font-family: 'Arial';
  padding: 15px 30px;
}
Step 3: Preview and Adjust
Use the Preview button to test changes. Adjust values until satisfied.
Step 4: Publish Your Site
Click Publish to make changes live.
5. Best Practices for Clean, Scalable Code
- Use Descriptive Class Names: Avoid vague terms like
box1; usenewsletter-ctainstead. - Leverage Responsive Design: Add media queries for mobile:cssCopy@media (max-width: 640px) { .custom-button { padding: 10px 20px; } }
- Minimize !important: Override Wix styles sparingly to avoid conflicts.
- Organize CSS: Group related styles (e.g., headers, buttons) with comments.
6. SEO Tips to Rank Your Customized Wix Site
- Optimize Title & Meta Tags: Include keywords like “custom CSS Wix” in your page titles and descriptions.
- Improve Site Speed: Compress images and minimize CSS code.
- Mobile-First Design: Google prioritizes mobile-friendly sites.
- Internal Linking: Link to related blog posts (e.g., “How to Optimize Wix SEO”).
- Alt Text for Graphics: Describe images using keywords (e.g., “custom-css-wix-editor-screenshot”).
7. Conclusion & Next Steps
Adding custom classes and CSS to Wix unlocks limitless design potential. Start small—tweak buttons or headers—then expand to full-page overhauls. Combine these techniques with SEO best practices to rank higher on Google.
Need Help?
- Explore Wix’s Velo API for advanced customization.
- Use tools like CSS Validator to debug code.
Related Blogs
How to Add Custom Fonts to Wix: Elevate Your Branding in 5 Simple Steps
How to Add Custom Fonts to Wix
Elevate Your Branding in 5 Simple Steps